Noble Blogger Guidelines: How to Cite Pictures
Today’s media is all about the visual. Your website is not likely to survive if it does not have striking graphics. Graphics are the spice in your reader’s soup.
It’s not always convenient, or even possible to use your own materials, so naturally you turn to outside sources. However, your effort to dress up a page will not end as soon as you find a proper picture, because now, you need to cite it correctly.
Many bloggers are really struggling with correctly citing the source of their graphics. Copyright laws are strict, and one small omission may result in a spoilt reputation or even a lawsuit. In order to avoid that, you must stop being an online Robin Hood and improve your blogging processes.
So, you need to use safe images in your blog post. What’s the plan? I will explain everything with the help of the following guidelines, provided by a Noble Blogger.
1. You have found an image online. Start by checking its copyright status.
The first tool to use is TinEye, which comes into play when you need to find out the origins of the image and the availability of versions with higher resolution. TinEye will tell you who owns the image, where it comes from and who can use it. You can either upload the image or use its URL.
2. If the picture is under copyright, you can ask permission to use it.
It’s usually not difficult to find the photographer’s contact information and ask if you can use his or her images on your blog with the appropriate tribute. Make sure the permission is written.
3. If you want to find pictures that are free of copyright, there are several options.
You can use «Advanced Search» in Google Images Search, choosing «free to use or share» or «free to use or share, even commercially» depending on your needs.
Some free websites where you don’t need any permissions for using images in blog posts are Flickr, morgueFile, FreeFoto, FreeDigitalPhotos and Pixabay. In many cases, you will need to include a link to the source and a small nod to the source. Pixabay offers images you can use without any links or attributions.
For example, if I find a photo posted on Flickr by Tori Siegel, I’ll create my citation the following way:
Please note that there are several license types presented on Flickr, including Attribution, Noncommercial, Share Alike and No Derivative Works. Choose the best fit for your blog needs.
NOTE: There are paid picture services too. Free Images, Stock Adobe, Shutterstock and Stock Snap will request a small fee from you ($1-2 for a small pic). You can use keywords to make your search faster. You won’t need to attribute to the source in this case.
4. Name the person who owns the picture.
Do it right under each picture you use. It is a good idea to use full name and check if you spelled it right. The image credit should be put next to the picture, either right underneath it or on the right/left side, depending on what position looks best in your blog post.
If you find the original source of the image on the photographer’s website, you should use the following format of your image credit:
Image by [Author’s Name with a hyperlink to the image owner’s website].
If, on the other hand, you find the image at a website that is different from the author’s website, you should use the following format:
Image by [Author’s Name with a hyperlink to his/her website] via [Name of the website where you found the picture with the hyperlink attached].
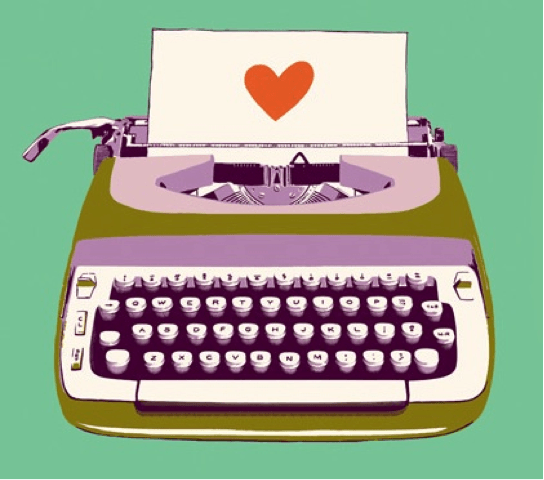
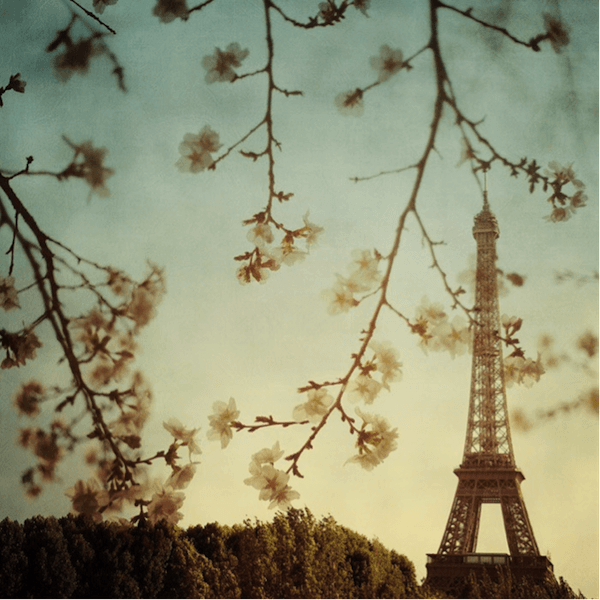
Here’s an example of one way to handle this tricky, yet necessary process: I simply emailed Melody Miller, a talented designer inspired by vintage fashion, and Irene Suchocki, an amazing fine art photographer who is in love with London, Paris and New York, and they both helped me out.
When I found a lovely typewriter image on Melody’s own website, I cited it like this:
But if I come across the artwork of Irene Suchocki – one of the most popular photographers in Canada – on a décor website, I need to include both links to Irene’s personal website and the source where I found the picture:
5. Remember to use the links to the websites where the picture originally appeared.
You cannot just put “via Google,” “via Pinterest,” “via Flickr” or “via Tumblr.” Sometimes you have to do some research on the matter; usually, it’s an online gallery or exhibition that you need.
6. Name the image in order to show what it represents.
Make sure you get it right and do a double check.
When you’resaving an image that you want to use on your WordPress blog post, name it according to what is on it instead of tricky codes that are a default name of your save. This way, the name of your file will be recorded, and it will be a lot easier to find on Google and attract more traffic.
For example, if you use an image from a conference or other event, it is wise to add the conference’s name, location and date. Let’s say it’s something like NMX 2013. Put “nmx_2013_las_vegas” as the picture’s name. (However, if it’s just a photo of a flower, you don’t have to be too tricky about it.)
7. Use the attribute links both in the body and at the end of your blog post.
It will be super nice and very noble of you! Building relationships in business is, for the most part, extremely important for your company’s promotion.
The image owner may be very pleased with your gesture and if so, will cooperate with you in the future.
8. Familiarize yourself with Copyright and Fair Use regulations.
It’s better to avoid using somebody else’s material that is under copyright, in case you cannot get permission to use it.
If you are using pictures frequently, or when it comes to unique photos of great value, it’s especially important not to risk violating the copyright law, in order to prevent potential lawsuits.
9. Be aware of the gray areas in copyright laws.
Some of these rules are still unwritten and are more related to etiquette rather than law.
Fair Use is the most disputable area in copyright, as it assumes that you may not have to ask permission from the image owner if you’re using it for getting feedback, criticism or comments, or for the purposes of teaching, educating, reporting news or research. At times, the bond between educational and commercial purposes is unclear on blogs, so it’s better to ask permission and play it safe.
10. Learn how to use Creative Commons.
Creative Commons is a great platform to share creative materials for free with the help of user-friendly copyright licenses. The artwork you can freely use is not limited to pictures – there are also songs, academic and scientific works, and videos.
Before you start working with copyright, it’s reasonable to spend enough time educating yourself on the issue. Copyright Law of the United States helps you out with this great extract. The expiration terms for copyright works can be found here.
Don’t think you’re simply going the extra mile – the benefits of being a nobleman of your industry are too intriguing to miss. Being a Robin Hood online is not as romantic as the legend implies, and copyrights represent a case when discretion is definitely the better part of valor. So put pen to paper and prove that you can do better by citing images on your blog using all the necessary attributes.
Do you love or hate citing images? What tools do you use for it? What do you think are the benefits of being noble in terms of image copyrights? Share your thoughts in comments please.

Comments (0)